
Connecting Ask CAST to Microsoft Teams via a Copilot Studio Agent
Requirements before starting
Before starting, make sure the following are in place. Missing any of these is the most common reason this setup stalls partway through.
Licensing
- A Microsoft Copilot Studio license (or a Microsoft 365 Copilot license that includes Copilot Studio) for whoever builds the agent
- Microsoft 365 / Teams licenses for the end users who will use the agent
Permissions
- Rights to create agents and custom connectors in Copilot Studio / Power Apps for your environment
- Teams admin rights, or a Teams admin you can go to, to:
- allow custom/third-party or sideloaded apps if your tenant restricts them (Teams Admin Center → Teams apps → Setup policies)
- approve the agent for org-wide availability if you want it published tenant-wide rather than shared with a handful of people
Network / connectivity
- Outbound internet access from the Power Platform environment to your CAST Highlight MCP endpoint (
*.casthighlight.com) — if your tenant uses a data loss prevention (DLP) policy restricting connectors, the MCP connector needs to be allowed by that policy - The CAST Highlight MCP server itself needs to be reachable over the public internet (or via whatever gateway your org uses) from Microsoft’s infrastructure — there’s no on-premises data gateway step in this flow
CAST Highlight credentials
- A valid CAST Highlight domain ID
- A valid CAST Highlight user token for the account the agent should query on behalf of
- Confirmation of which CAST Highlight environment you’re targeting:
cloud,app, orrpa
Step 1 – Create the agent in Copilot Studio
- Go to copilotstudio.microsoft.com and sign in.
- Select Create → New agent → Create blank agent (skip the “describe it in your own words” flow so you can set instructions precisely).
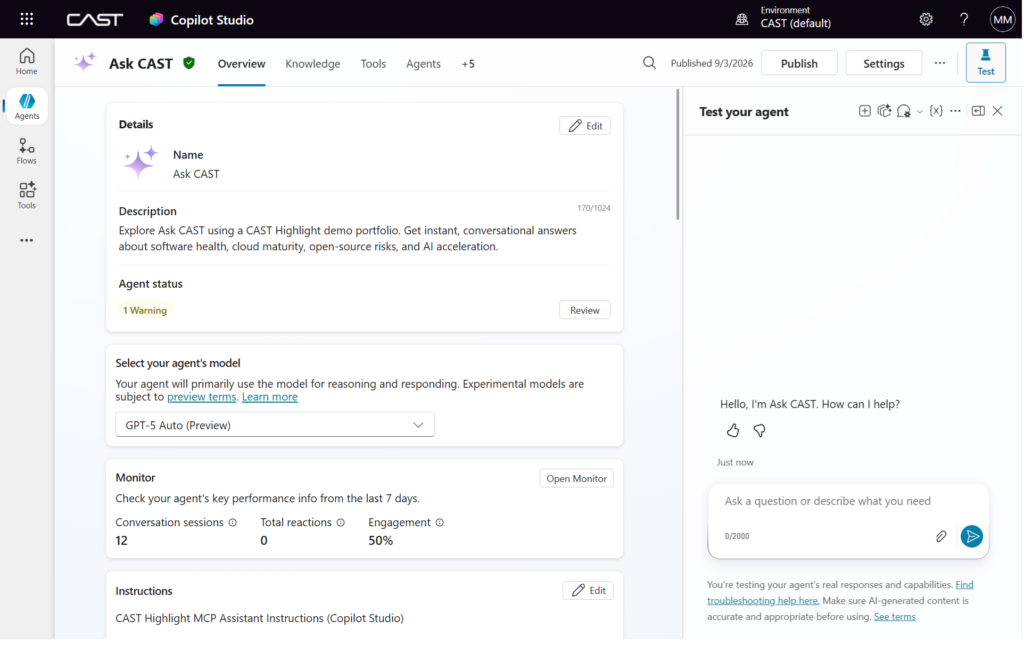
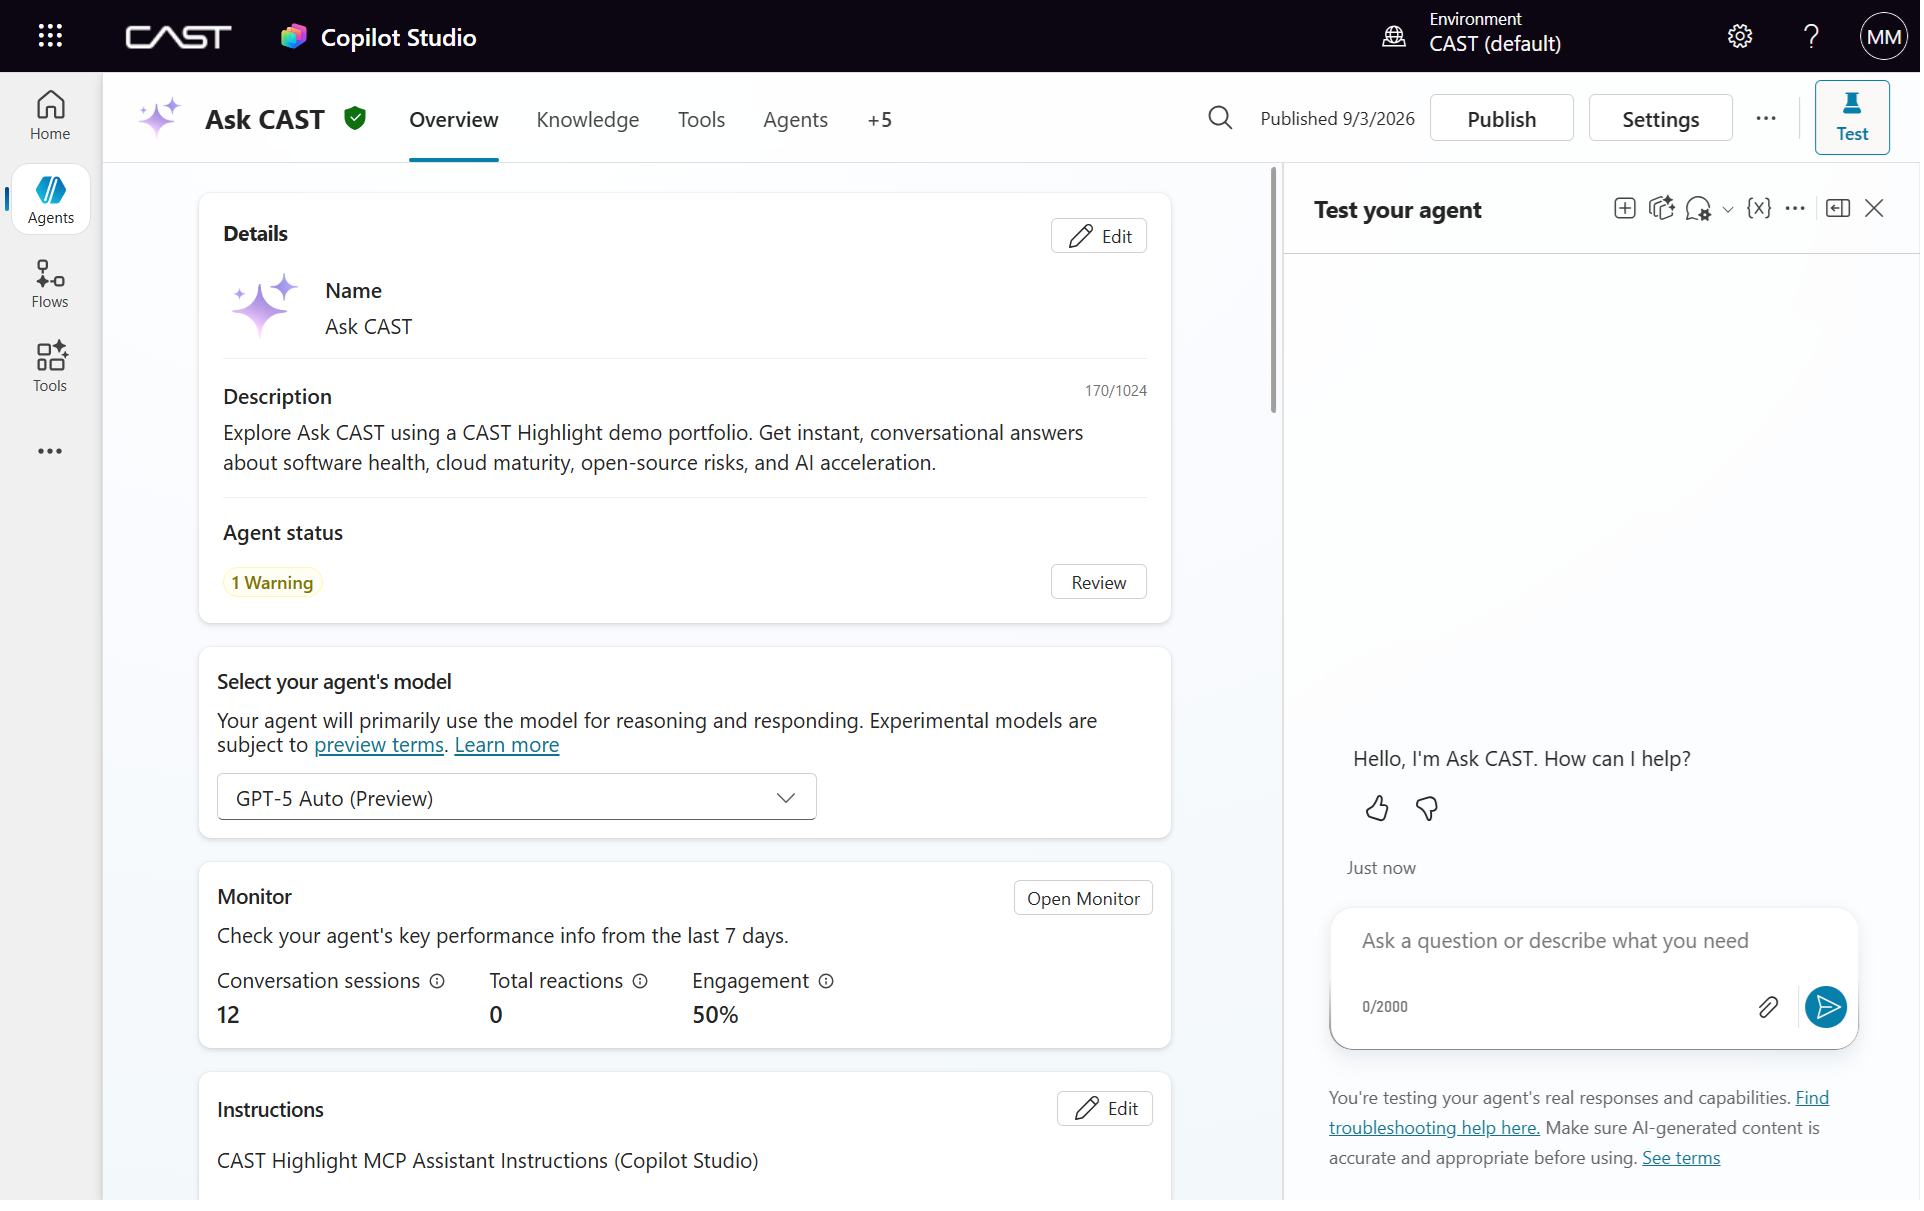
- Name it Ask CAST and give it a short description, e.g. “Ask natural-language questions about your software portfolio’s health, risk, and technical debt using CAST Highlight data.”
Suggested agent instructions
Paste something like this into the agent’s Instructions field:
You are Ask CAST, an assistant for engineering and IT leaders. You answer questions about application portfolios using the CAST Highlight MCP server tools — things like technical debt, cloud readiness, open-source risk, resiliency, and software composition. Always call the appropriate CAST Highlight tool to fetch current data rather than guessing. When a question is ambiguous about which application, business unit, or time period is meant, ask a clarifying question before calling a tool. Present results in plain language suitable for an executive audience — lead with the takeaway, then supporting detail. If a tool call fails or returns no data, say so plainly rather than fabricating numbers.
Adjust tone/scope as needed for your audience.
Step 2 – Connect the agent to the Ask CAST MCP server
Because our server needs two custom headers, do this in two passes: use the wizard to get the connector scaffolded, then edit it to add the second header.
2a. Run the MCP onboarding wizard
- On the agent’s Tools tab, select Add a tool → New tool → Model Context Protocol.
- Fill in:
- Server name: CAST Highlight MCP Server
- Server description: brief description so the orchestrator knows when to call it
- Server URL: your CAST Highlight MCP endpoint
- Authentication type: select API key.
- Type: Header.
- Header name: enter
highlight_domain(orhighlight_api_key— pick one to start with; you’ll add the other next). - Select Create.
2b. Add the second custom header
The wizard’s UI only configures one header, so add X-User-Token (or whichever you didn’t use above) by editing the generated connector directly:
- From the agent’s … menu, select View solution, then open the custom connector that was just created for the CAST Highlight MCP server.
- Select Edit, then open the Swagger/OpenAPI editor (or edit the underlying definition).
- Add the second header as another
in: headerparameter on theInvokeServer/InvokeMCPoperation, alongside the one the wizard already added. - Save the connector.
- Remove and re-add the connector on the agent’s Tools tab — updates to the connector definition aren’t picked up by agents already using it until you do this.
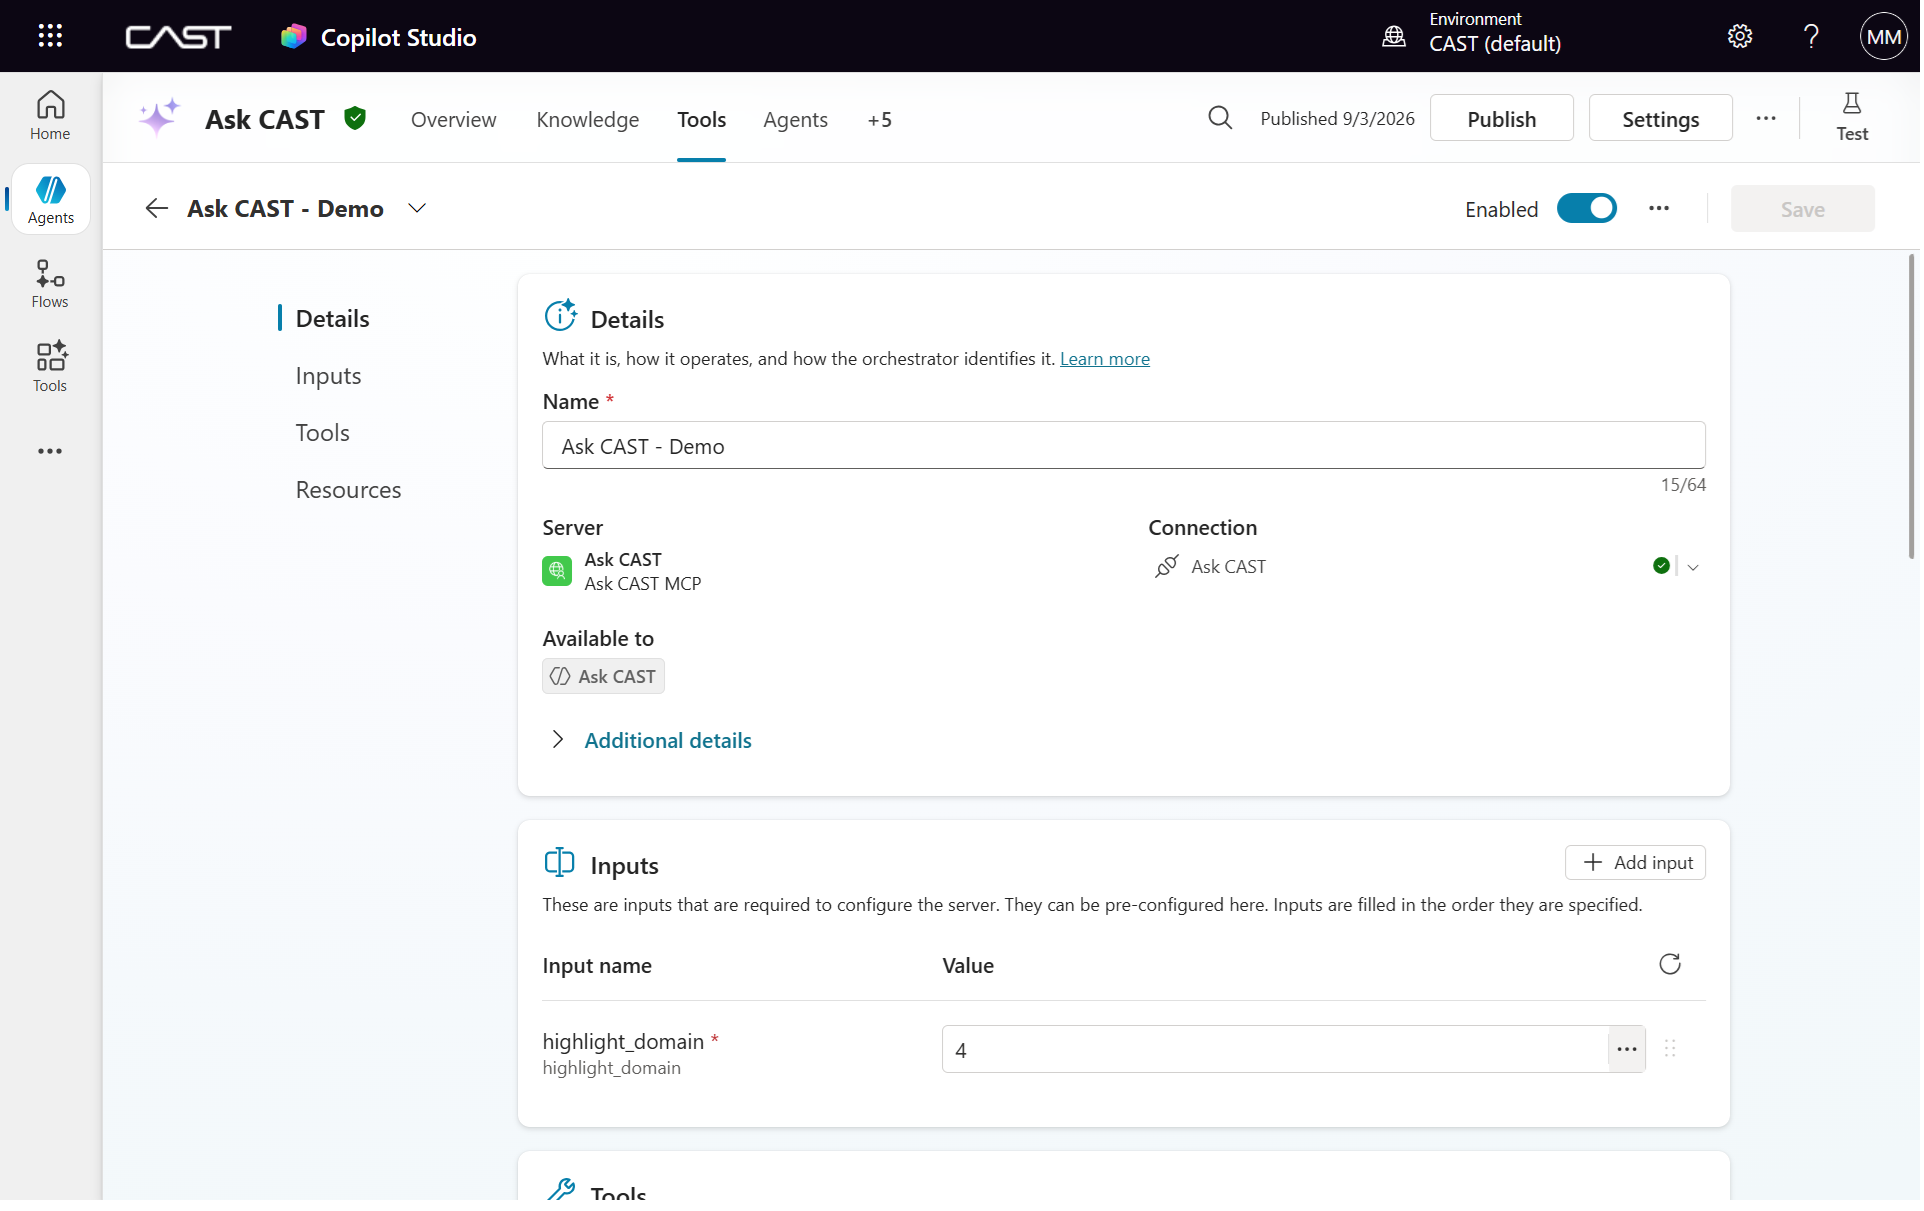
- Re-open the tool in the agent, and you should now see both headers listed as connector inputs.
2c. Set the header values and create the connection
- On the Add tool / connector configuration screen, set:
highlight_domain→ your CAST Highlight domain IDhighlight_api_key→ your CAST Highlight user token (These can be hardcoded for a single-tenant agent, or set dynamically via Power Fx/system variables if you want the agent to resolve per-user credentials later.)
- Select Create new connection, then Add to agent.
2d. Choose how to handle the environment (server URL)
Pick one of these approaches, depending on how many environments you need to support:
Option A — one connector per environment (simplest, no extra tooling)
Run the wizard from step 2a separately for each environment you need, giving each its own clearly named tool, e.g.:
- CAST Highlight MCP – CLOUD (
https://cloud.casthighlight.com/mcp) - CAST Highlight MCP – APP (
https://app.casthighlight.com/mcp) - CAST Highlight MCP – RPA (
https://rpa.casthighlight.com/mcp)
Whoever builds an agent for a given customer/org just adds the one tool that matches their environment. This is the fastest path and needs no connector-policy work — use it unless you specifically need a single agent to serve multiple environments.
Option B — one reusable connector across all environments
Since all four URLs follow the same pattern (https://{environment}.casthighlight.com/mcp), you can build a single connector that adapts at connection time:
- In the custom connector (Power Apps), go to the General tab and add a connection parameter named something like
Environment— type String, ideally constrained to an enum ofdemo,cloud,app,rpa. - Go to the Definition tab, open Policy templates, and add the Set host URL (
dynamichosturl) template. - Set the URL template to derive the host from that connection parameter, e.g.
https://{Environment}.casthighlight.com/mcp(referencing the connection parameter, not a header or query string). - Save the connector. From then on, when someone creates a new connection to this connector, they pick their
Environmentonce, and every request automatically routes to the right host — no need to duplicate the connector per environment.
This is more setup up front but scales better if you expect many customers/agents pointing at different CAST Highlight instances.
2e. Test
Open the agent’s test pane and ask something like “What’s the technical debt trend for [application]?” to confirm the tool is being called and returning data from the environment you configured.
Step 3 – Publish the agent to Microsoft Teams
- In Copilot Studio, open your agent and go to Publish in the left navigation.
- Select Publish to push your latest changes live (repeat this after any future edits — changes don’t reach Teams until you publish).
- Go to the Channels tab and select Microsoft Teams (and optionally Microsoft 365 Copilot alongside it).
- Complete the channel setup — this generates a Teams app package (manifest + agent configuration) behind the scenes.
- Under Availability options, choose how to roll it out:
- Install for yourself — quickest way to test in your own Teams client
- Share installation link — send a direct link to specific teammates
- Show in Teams app store (Built with Power Platform) — visible without admin approval, good for a wider pilot
- Submit for org-wide availability (Built for your org) — requires Teams/M365 admin approval, needed before a tenant-wide rollout
If your tenant restricts sideloading or third-party apps, you’ll need a Teams admin to allow custom apps (Teams Admin Center → Teams apps → Setup policies) or to approve the org-wide submission.
- Once installed, users can message the agent directly in Teams or add it as a tab in a specific channel for team-wide access.
Notes / things to double check before rolling out broadly
- Confirm whether you want a single shared domain/token pair for all users of the Teams agent, or per-user credentials — the current setup above uses one shared pair.
- Re-test after any MCP server-side changes to the header contract.
- Remember to re-publish in Copilot Studio after any instruction or connector changes; Teams won’t reflect them until you do.