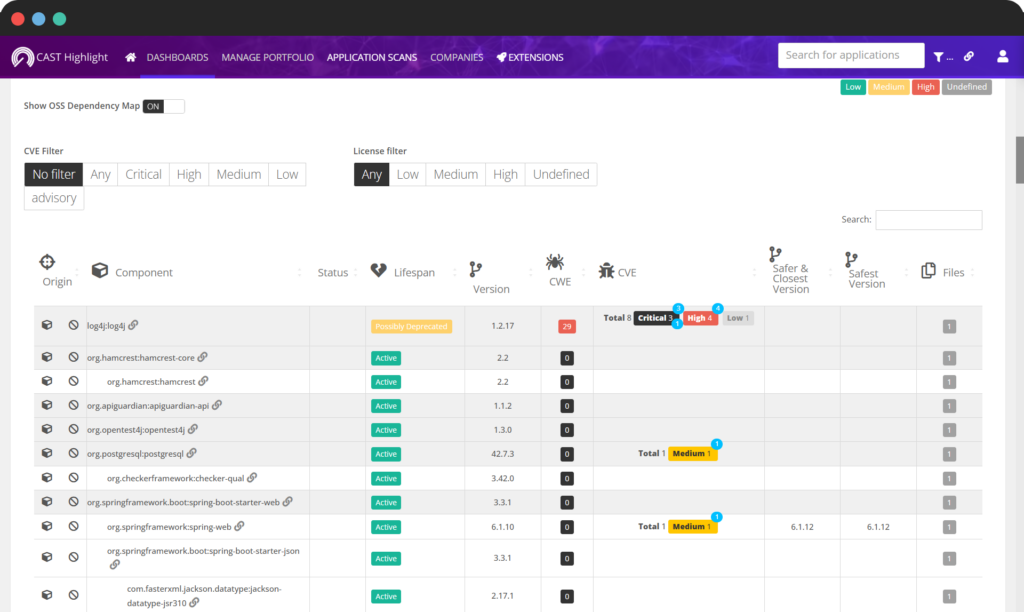
OSS Dependency Map: Scan configuration for optimal results
Scan Preparation: Include dependency and lock files
Technology-wise, it is important to ensure that the selected source code folder also includes dependency and lock files. These files contain referenced dependencies as used by your application along with resolved versions. See below the list of supported package managers and corresponding files. Depending on the technology of the application you’re scanning, make sure the corresponding lock files are part of the scan scope.
- Java: Maven (pom.xml, .m2 repository, see further instructions later in this article)
- JavaScript/TypeScript: Node (package-lock.json)
- JavaScript: Yarn (yarn.lock)
- PHP: Composer (composer.lock)
- Python: Poetry (poetry.lock)
- Ruby: Gemfile.lock
For information on supported package managers, please refer to this article.
Java/Maven Applications
Scanning Java applications built with Maven requires additional steps prior to running the scan with CAST Highlight’s Code Reader. You’ll have to run Maven on your sources in order to resolve dependency versions. Maven will create a .m2 folder with physical dependencies (.jar files) which will be needed for the Code Reader. Refer to this documentation for further assistance.
Scan Configuration & Options
Once source code preparation steps above have been done, you can now run the scan with CAST Highlight’s Code Reader. As you want transitive dependencies to be part of the result, you’ll have to use specific options of the Code Reader/CLI.
--includeAllDependencies
--ignoreDirectories node_modules
If your application is using Maven, add this option:
--mavenRepository <path_to_m2_folder>
$> java -jar HighlightAutomation.jar --sourceDir "C:\source" --workingDir "C\source\hlresults" --mavenRepository "C:\Users\<username>\.m2" --ignoreDirectories "node_modules" --includeAllDependencies --skipUpload
.NET/Nuget Applications
For a better detection of components and versions of Nuget-based applications, it is recommended to scan the code along with the –nugetRepository option enabled.
If you perform operation in your build environment (prefered solution)
You may directly add –nugetRepository <path_to_local_nuget_cache> to indicate the local nuget repository location and ensure build as already been done.
Otherwise, you’ll have to install .NET on your machine and have access to maven external repositories required for your application.
- Download and install .NET
- From the source folder where the root .csproj is, run the following command which will calculate the exact dependencies and versions of the project:
-
$> dotnet restore
- Ensure that nuget cache folder is available and can be read. Windows : default configuration is to have repository in C:\Users\<username>\.nuget. Check the visibility status (hidden option in windows explorer). Linux/Mac: check owner and right available on directory, should be at least “read”.
- Scan the source folder with the Command Line with –nugetRepository <path_to_local_nuget_cache>, optionally with the option –includeAllDependencies if you want to get the whole dependency tree
- To ensure that option is correctly working check data in framework.validated.csv, with option activated more components should be reported with a version defined.
- if an ‘obj/project.assets.json’ file already exists and is associated to the root *.csproj, there is no need to use the –nugetRepository option as this JSON file already contains dependency information.
- the –nugetRepository option is not required when the –includeAllDependencies is not used
Example
$> java -jar HighlightAutomation.jar --sourceDir "C:\source" --workingDir "C\source\hlresults" --nugetRepository "C:\Users\<username>\.nuget\packages" --includeAllDependencies --skipUpload