Feature Focus: Delete Application Snapshots in Bulk
CAST Highlight enables you to easily search, filter and delete application snapshots across your application portfolio. See how the feature works in this article.
Search for application snapshot candidates to delete
If you have integrated CAST Highlight scans as part of your CI/CD pipelines, you may quickly end up with hundreds of application snapshots, especially if these scans are done on a weekly or a daily basis. To gain clarity in application trends, increase performance, or comply with some data retention policies, you may want to search for and delete old scan results.

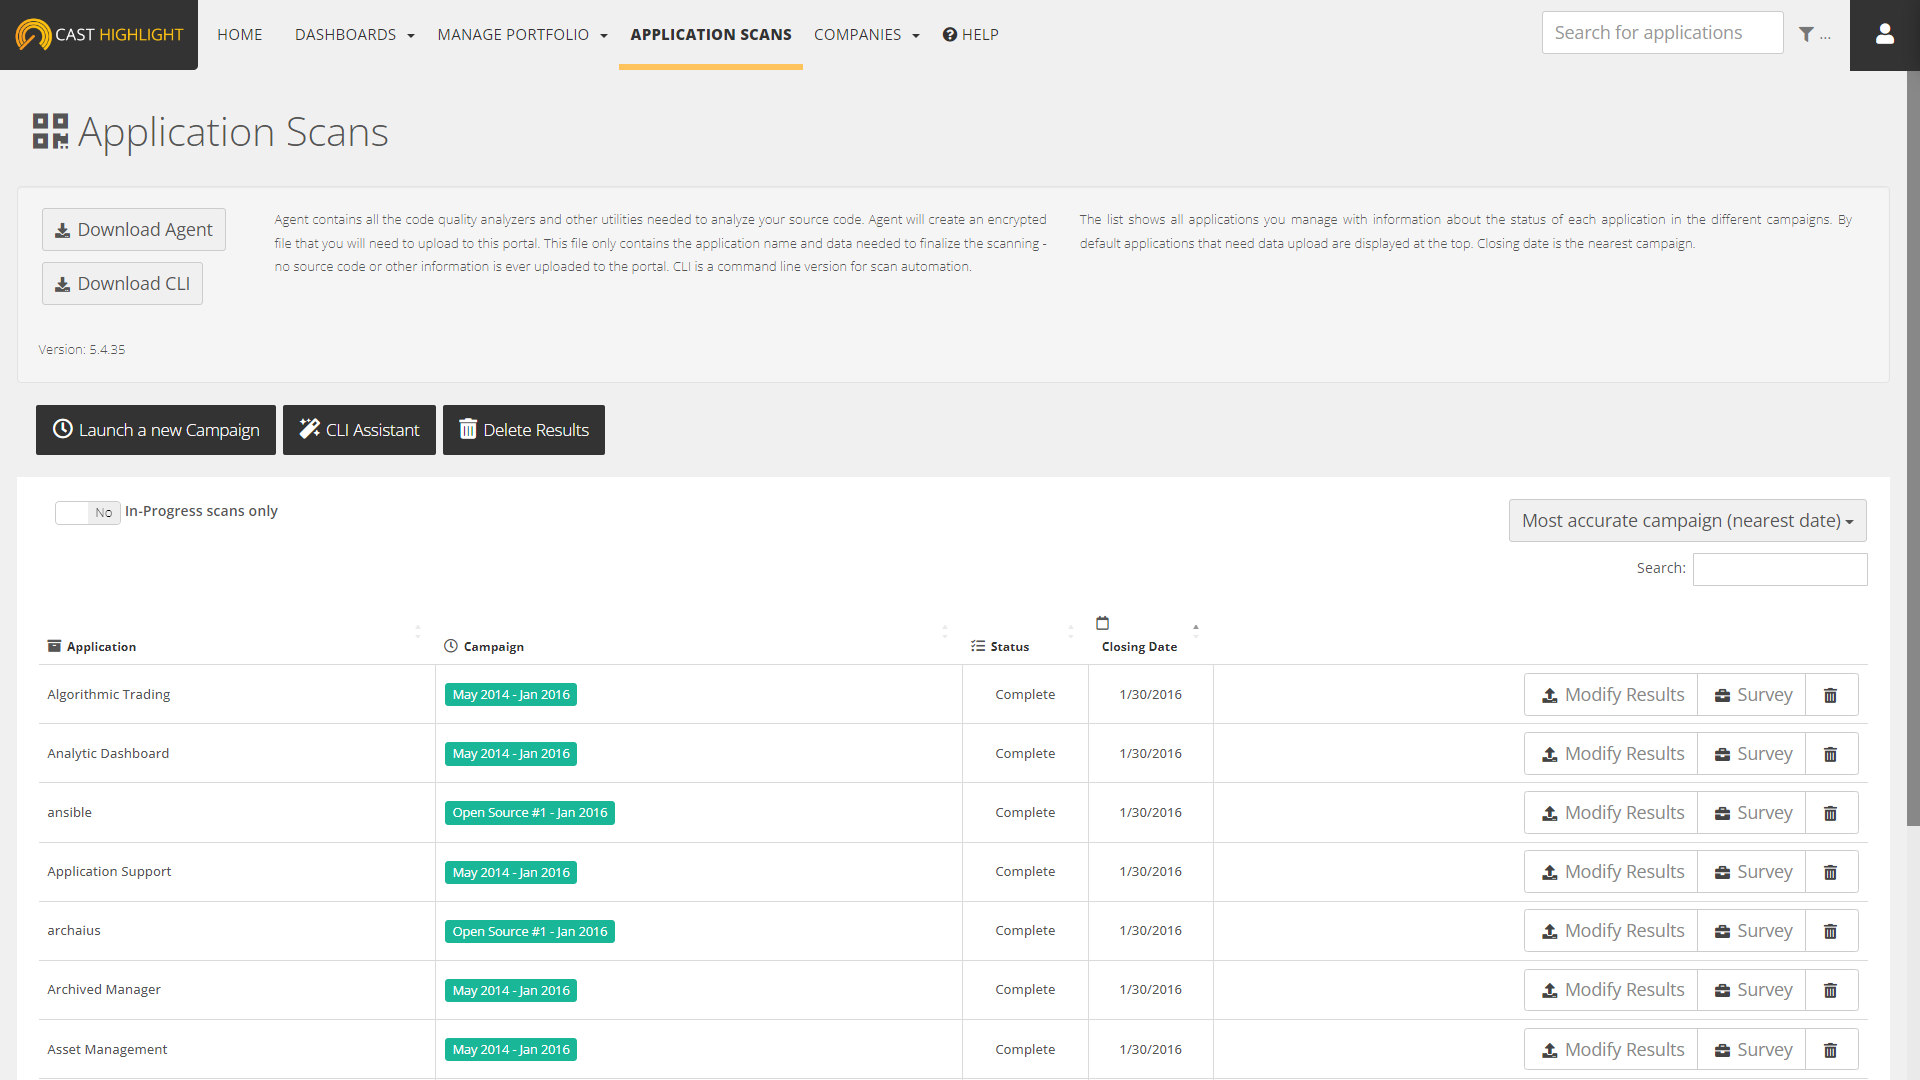
From the APPLICATION SCANS page, click on the “Delete Results” button and start searching for snapshots to delete based on:
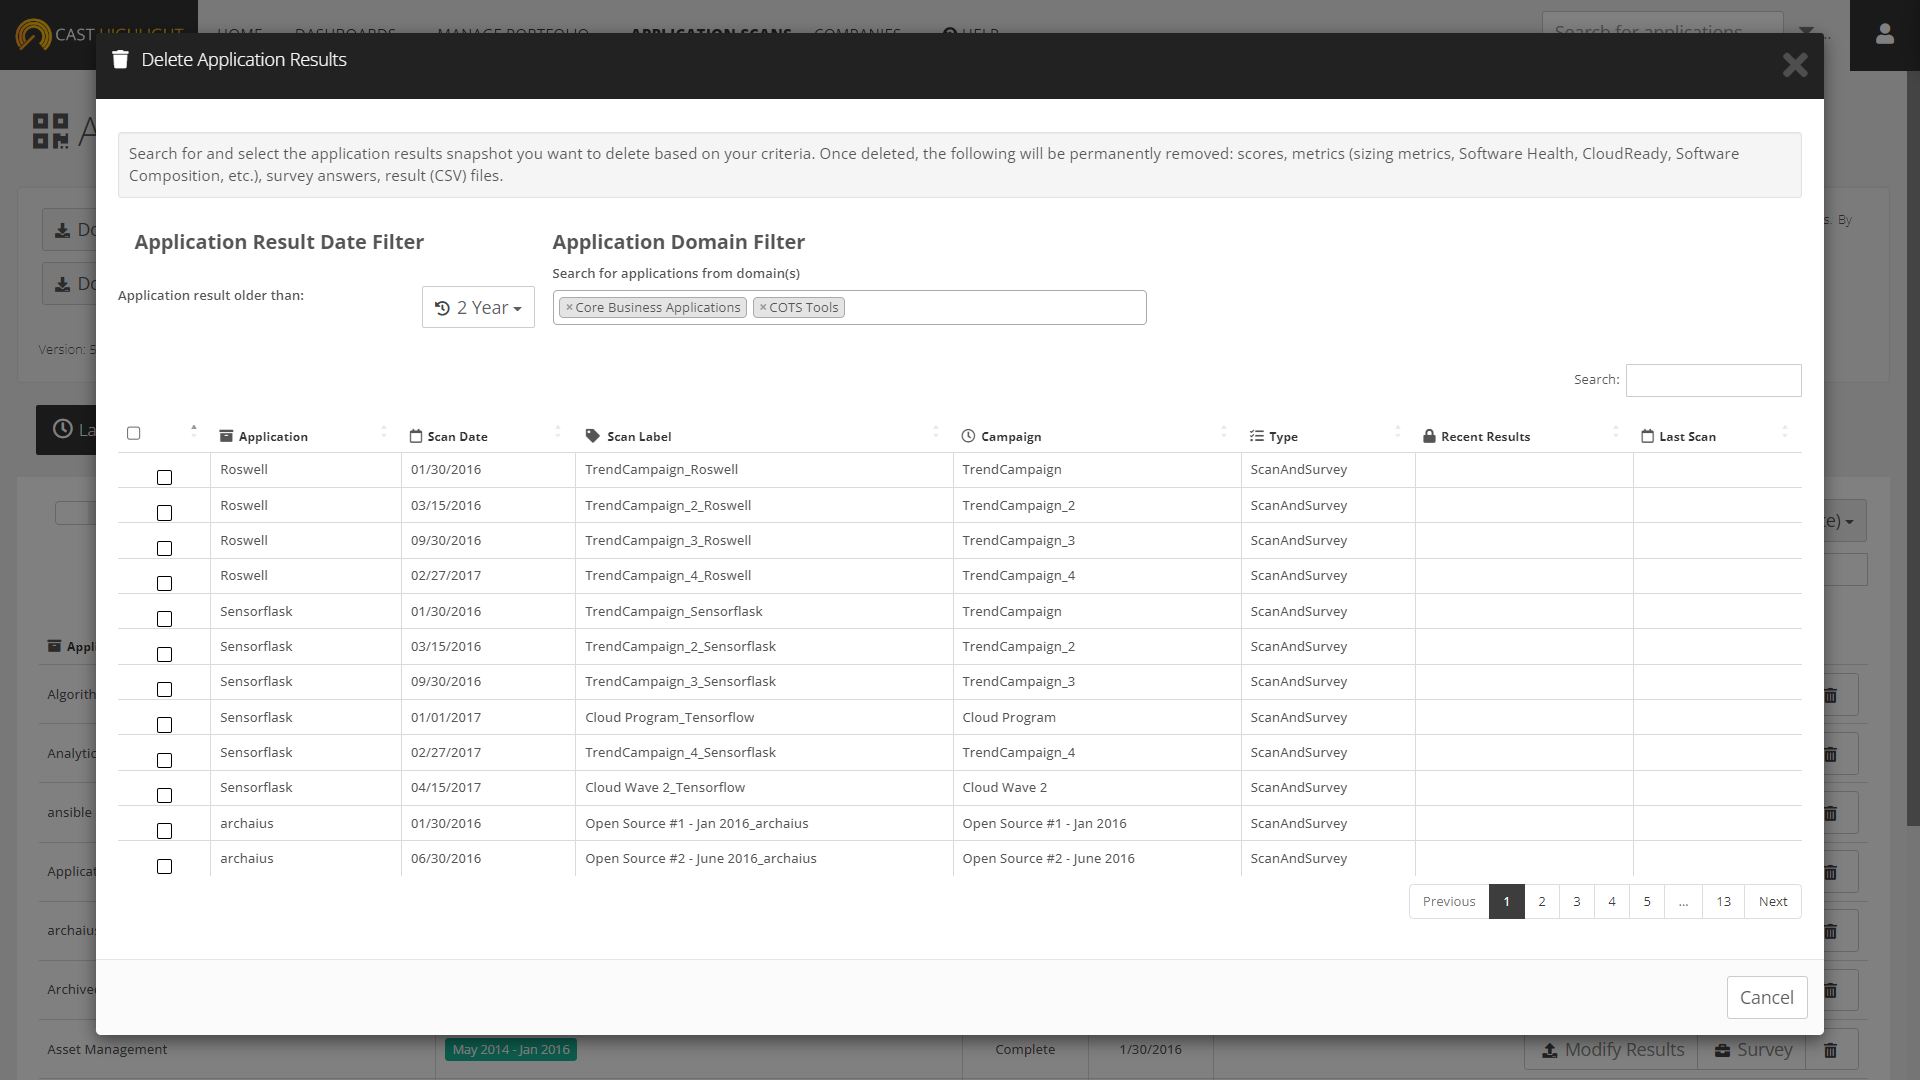
- Snapshot dates: select the age range of snapshots (older than 1, 2 or 3 years) or enter a specific date. All application scan results before this date will be listed.
- Domain filters: select one or more domains to filter the list of searched application snapshots. Only application results from these domains will be listed.
- Date and domain filters cumulate in the search results (e.g., list of application results older than 2 years from “Core Business Applications” and “COTS Tools” domains).
The search fetches a table with the following structure:
- Each row is an application result (snapshot)
- Application name
- Scan date of the snapshot
- Scan label of the snapshot
- Campaign name
- Snapshot type (Scan only, Scan and Survey)
- Recent results (will show the count of snapshots that are more recent than the selected date)
- Last Scan (will show the date of the most recent scan, more recent than the selected date)

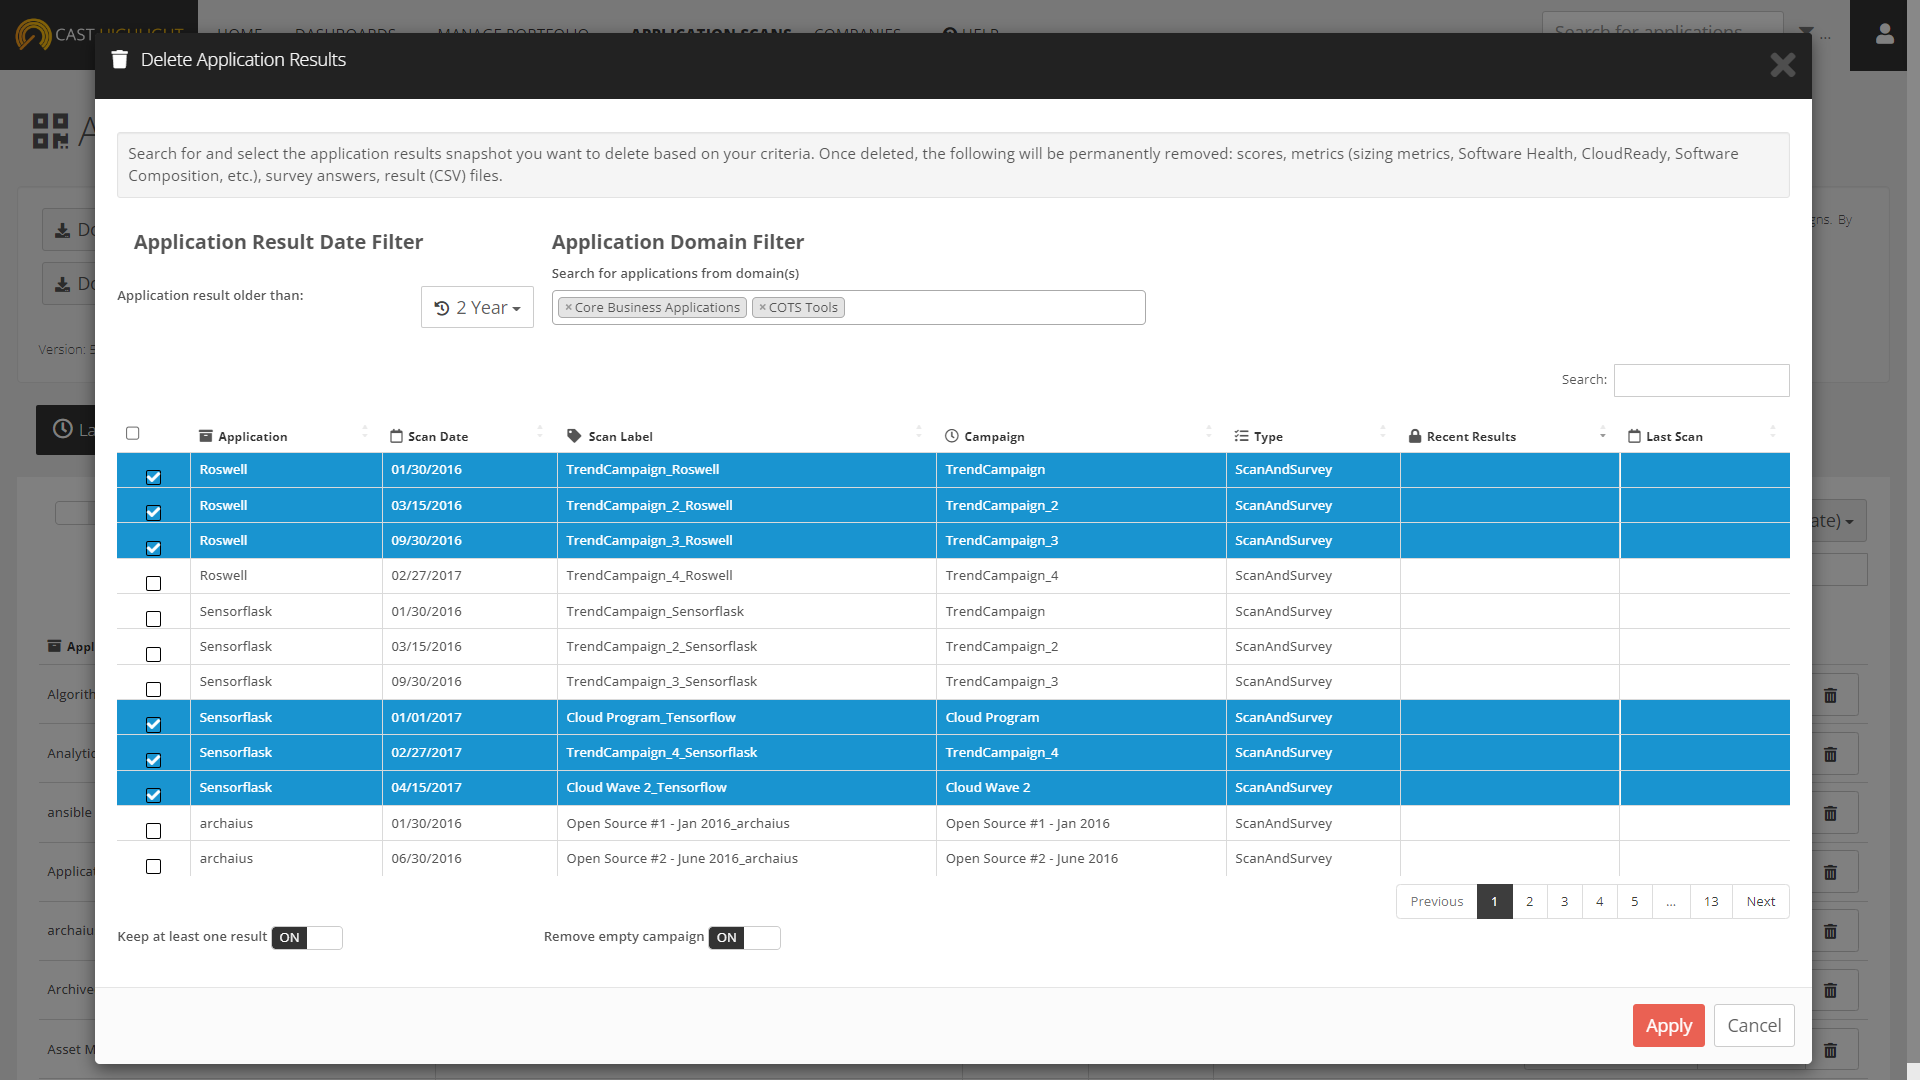
Select the application results you want to delete by clicking on the corresponding checkboxes in the first column. You can also click on the header checkbox to automatically select all results.

A couple of options can be activated on the result deletion:
- Keep at least one result: turning on this option will ensure that at least one result for the given application will be kept (i.e., not deleted). It will avoid having “empty” applications. By default, this option is turned on.
- Remove empty campaigns: turning on this option will automatically delete campaigns that don’t contain application results anymore. By default, this option is turned on as it helps streamline the Manage Campaigns screen.

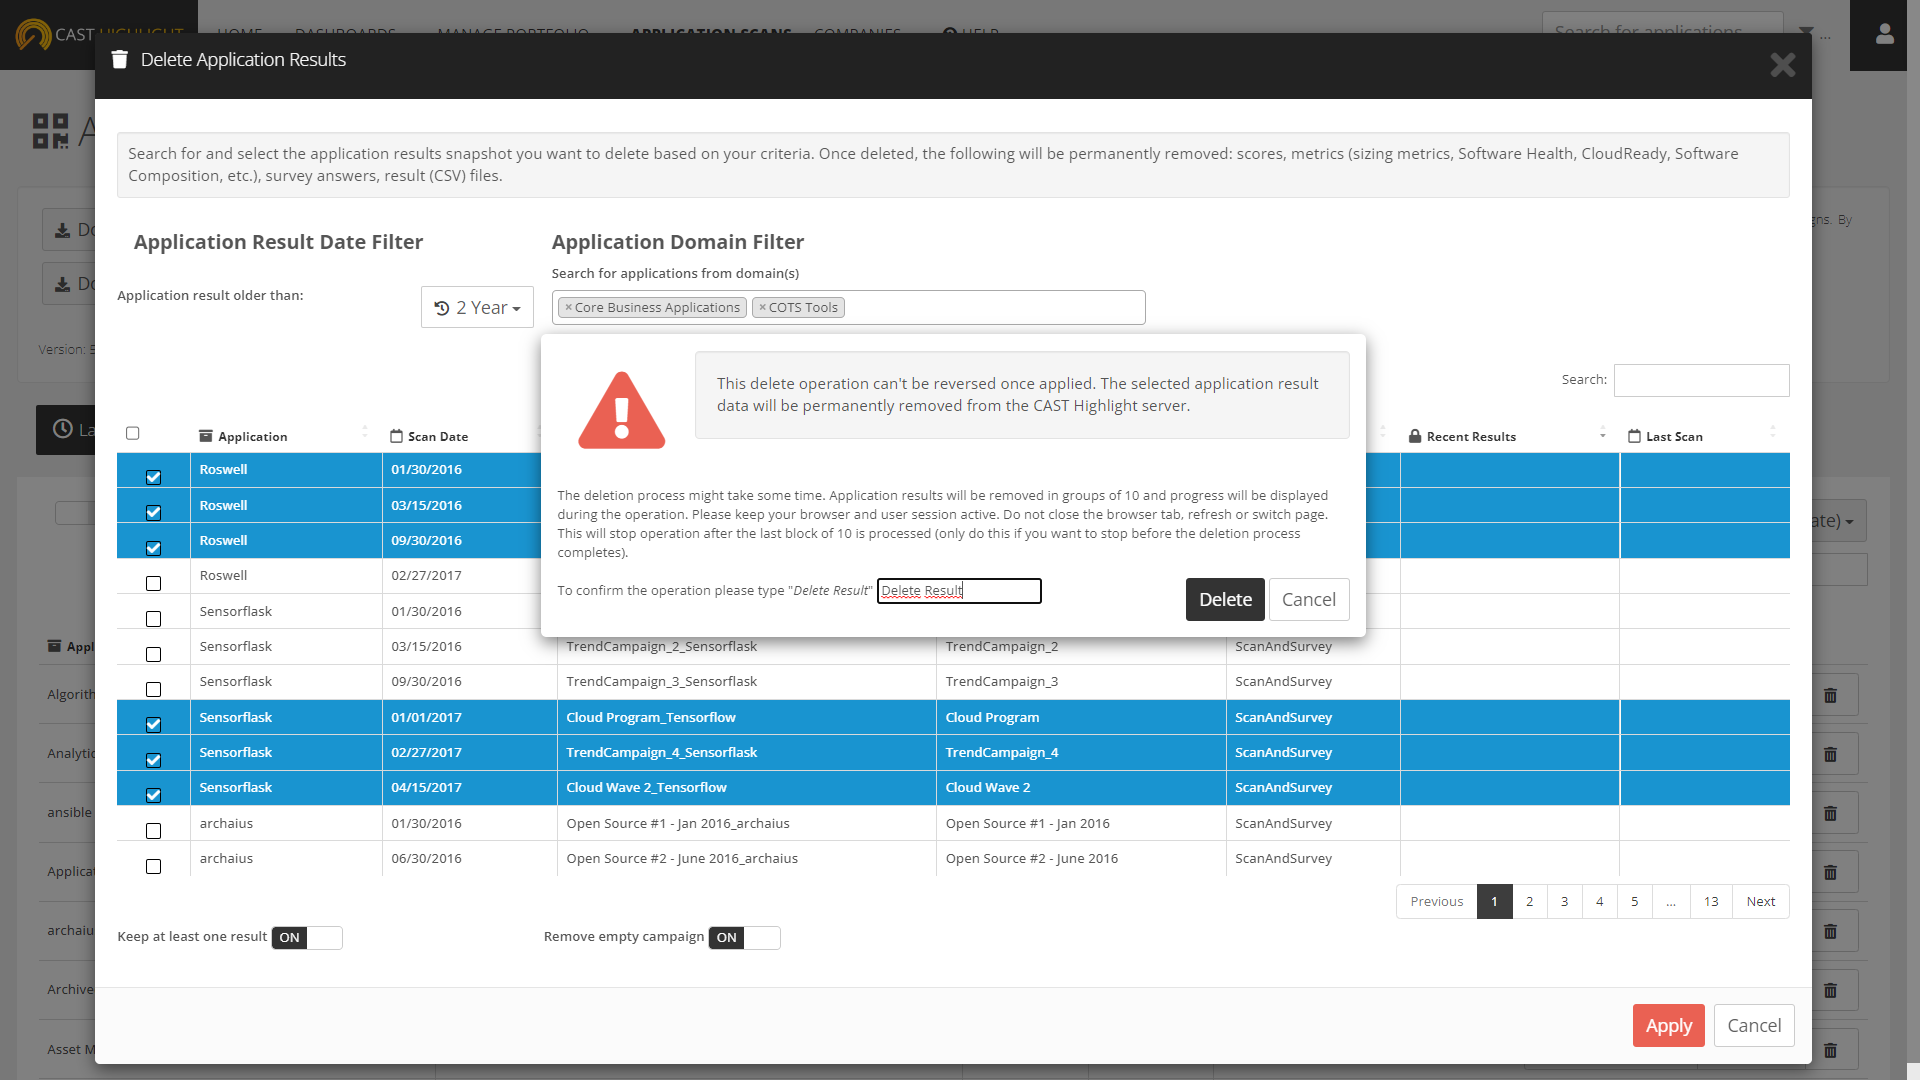
Once your selection of application results to be deleted is done, click on the “Apply” button, confirm the deletion by typing “Delete Result”, and finally click on “Delete”.

The deletion process is asynchronous and might take some time, depending on the number of selected application results. Application results will be removed in groups of 10 and progress will be displayed during the operation. Please keep your browser and user session active. Do not close the browser tab, refresh, or switch page. This will stop operation after the last block of 10 is processed (only do this if you want to stop before the deletion process completes). Note that this delete operation can’t be reversed once applied. The selected application result data will be permanently removed from the CAST Highlight server.
That’s all, now let’s start Spring cleaning your application portfolio, although we’re entering Fall very soon ☹

